Constrain To Origin
Overview
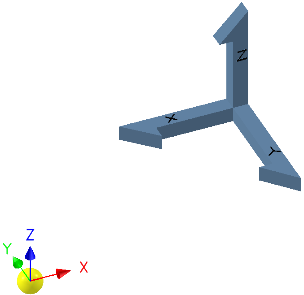
The Constrain To Origin command is designed to quickly and efficiently constrain selected components to the origin of their parent assembly in Autodesk Inventor. This tool is especially useful when components have lost their constraints due to the removal of other components or changes in the assembly structure. Unlike grounding, which locks a component in place and restricts movement, Constrain To Origin maintains the current position and orientation of each component while establishing a robust constraint to the assembly origin. This ensures that your components remain properly positioned and organized, even after significant edits or restructuring.
By using this command, you can restore order to your assembly, prevent unwanted movement, and avoid the need for manual constraint recreation. The process is streamlined and does not interfere with the design intent or the spatial relationships of your components.
How It Works
- Select one or more components within your active assembly that you wish to constrain to the origin.
- Invoke the Constrain To Origin command from the Placement Suite or relevant panel.
- The command automatically creates constraints between each selected component and the origin of its parent assembly.
- Existing position and orientation of the components are preserved, ensuring no unintended movement or rotation occurs.
- The constraints are added in a way that does not interfere with other existing constraints, allowing for further editing and adjustments as needed.
This approach is ideal for cleaning up assemblies after components have been deleted or when constraints have been lost, as it provides a quick and reliable method to re-anchor components without the need for grounding.
Usage Instructions
- Open your assembly in Autodesk Inventor and ensure you are in the active edit document.
- Select the components you want to constrain to the origin. You can select multiple components at once.
- Navigate to the Placement Suite or the appropriate command panel and click the Constrain To Origin button.
- Review the results in the graphics window. Each selected component will now be constrained to the origin of its parent assembly, with its position and orientation unchanged.
- If needed, check the logger output for details on the constraints applied or any issues encountered during the process.
Troubleshooting
- If constraints are not applied, ensure that the components are not already fully constrained or grounded.
- Check for locked or read-only files that may prevent constraint creation.
- If the command does not appear to work, verify that you are using the correct version of Inventor and that all required DLLs (such as ArpaFlow.Inventor.External) are properly referenced and installed.
- Review the logger output for any error messages or warnings related to constraint application.
- For assemblies with complex relationships, ensure that constraining to origin does not conflict with other design requirements or constraints.
Examples
- Restoring Constraints After Component Removal: If you delete a component that other parts were constrained to, use Constrain To Origin to quickly re-anchor the affected components to the assembly origin, maintaining their current layout.
- Organizing Imported Components: When importing parts from other projects or libraries, use this command to ensure all components are properly constrained to the origin, preventing accidental movement during further editing.
- Assembly Cleanup: After extensive edits or restructuring, use Constrain To Origin to tidy up the assembly and ensure all components are securely anchored without resorting to grounding.